Home
Products
Covid-19 Products
Why Us?
Catalog
Contact
Register
Login
Home
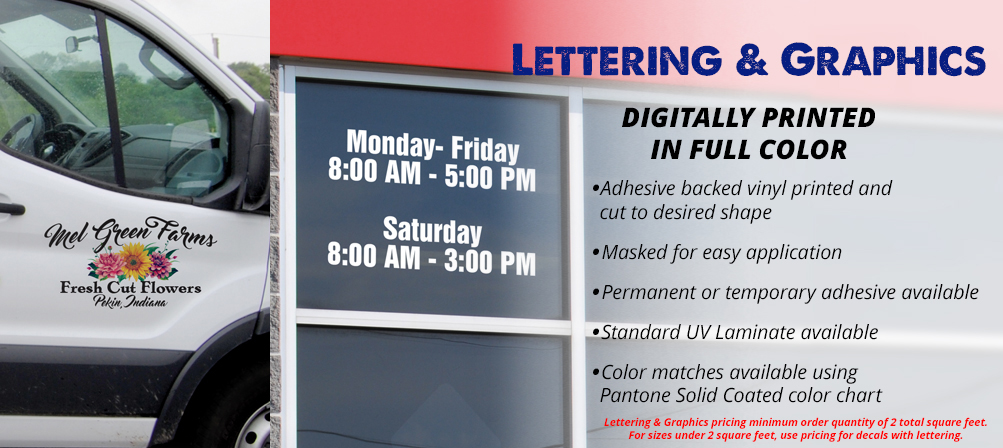
Lettering and Graphics
Lettering and Graphics
Get Instant Prices!
Registration is Quick and Easy
Register Now